Ever looked down at your patio or driveway and noticed those pesky weeds creeping through, or felt pavers wobbling underfoot? The secret to a rock-solid, picture-perfect outdoor space lies in one often-overlooked detail: sand joint maintenance.
Don’t worry—you’re not alone in wondering how to keep your paved surfaces looking sharp. This comprehensive guide will walk you through everything you need to know about protecting your investment and keeping those pavers locked tight.
Why Sand Joint Maintenance Matters
Sand joints aren’t just decorative—they’re the unsung heroes of your outdoor hardscaping. These tiny gaps between pavers:
- Prevent weed growth
- Stop ant infestations
- Provide crucial stability
- Protect against erosion
- Enhance overall surface appearance
Your Step-by-Step Sand Joint Maintenance Playbook
1. Sealing Sand Joints Like a Pro
What You’ll Need:
- Polymeric sand
- Paver sealer
- Broom
- Water sprayer
- Patience (trust me, it’s worth it!)
The Process:
- Clear the Decks: Remove every speck of debris, dirt, and those stubborn weeds.
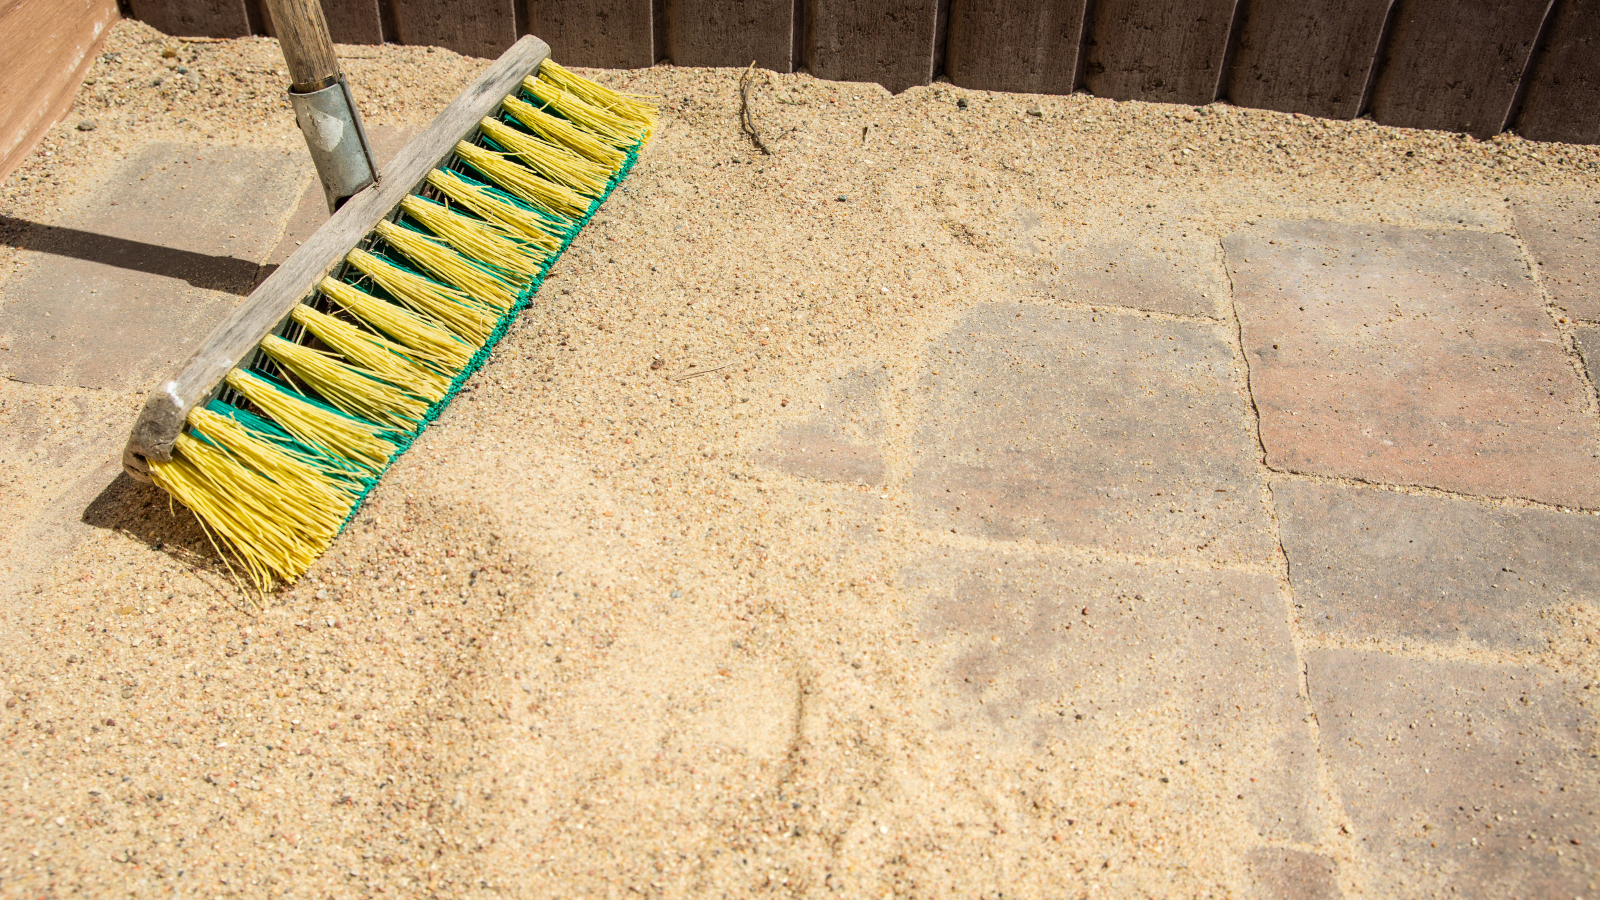
- Sand Distribution: Fill joints completely with polymeric sand. Pro tip: Don’t be shy—make sure it reaches the top of the pavers!
- Activate the Magic: Gently mist the sand. Think light spring rain, not hurricane-force water.
- Seal the Deal: Once dry, apply your paver sealer evenly. Let it set completely.
2. Spotting Sand Loss: detective Work 101
Keep your eagle eyes peeled for these red flags:
- Visible gaps between pavers
- Loose or shifting stones
- Weeds making an unexpected appearance
- Sand that’s mysteriously disappeared
3. Quick Fixes for Common Sand Joint Problems
Caught an issue? Here’s your action plan:
- Remove old, worn-out sand completely
- Fill with fresh polymeric sand
- Compact thoroughly
- Re-seal for maximum protection
4. Maintenance: The Long Game
Think of sand joint care like visiting the dentist—regular check-ups prevent big problems:
- Sweep weekly
- Inspect quarterly
- Top off sand annually
- Re-seal every 2-3 years
Pro Tips from the Experts
🔹 Weather Matters: Humid or rainy areas might need more frequent maintenance 🔹 Choose Quality: Invest in good polymeric sand—it’s cheaper than a full paver replacement 🔹 When in Doubt, Call a Pro: Some jobs are best left to the experts
Common Mistakes to Avoid
❌ Ignoring small sand losses ❌ Using regular sand instead of polymeric sand ❌ Skipping the sealing process ❌ Overwetting when applying sand
Your Paver Preservation Toolkit
Must-have items for sand joint maintenance:
- Polymeric sand
- Paver sealer
- Stiff bristle broom
- Garden hose with spray nozzle
- Tamper or plate compactor (for larger areas)
Final Thoughts
Sand joint maintenance isn’t just about looks—it’s about protecting your outdoor investment. A little time and effort can save you thousands in potential repairs.
Ready to Become a Paver Pro?
Start today! Walk your outdoor spaces, check those joints, and show those pavers some love. Your future self will thank you.
FAQs
Q: How often should I replace sand in my paver joints? A: Typically every 2-3 years, depending on weather and traffic.
Q: Can I do this myself or should I hire a professional? A: Most homeowners can handle basic maintenance. For large or complex areas, consider professional help.
Q: What’s the best time of year for sand joint maintenance? A: Late spring or early fall—when temperatures are mild and rain is minimal.
Get More Expert Advice
Want personalized tips? Check out local landscaping professionals or home improvement workshops in your area.
Disclaimer: Always consult with a local hardscaping professional for advice specific to your region and unique paver setup.

